
3D Printing: A Different Way to Create Threads
Do you remember when 3D printers were a new, groundbreaking innovation that made the hearts of hobbyists and tinkerers beat faster? Back then, such a device was still a major investment—one you’d think about three times before making. Nowadays, printers have not only become smaller but also more affordable, and they can now be found in many workshops and garages.
Maybe even in yours? Then you might have already wondered whether it’s possible to create a functional thread using such a device. After all, printed parts occasionally need to be connected, and in many cases, a screw connection using a thread is the most flexible solution. That’s why we want to answer this question for you today. Read on to learn everything about creating a thread with a 3D printer, what issues you might encounter, and whether you should give it a try anyway.
How Does 3D Printing of Threads Work?
If you've previously created threads using a tap, then designing them via 3D printing may seem strange at first. This is an additive manufacturing process, which means material is added rather than removed—in principle, the exact opposite of traditional thread tapping.
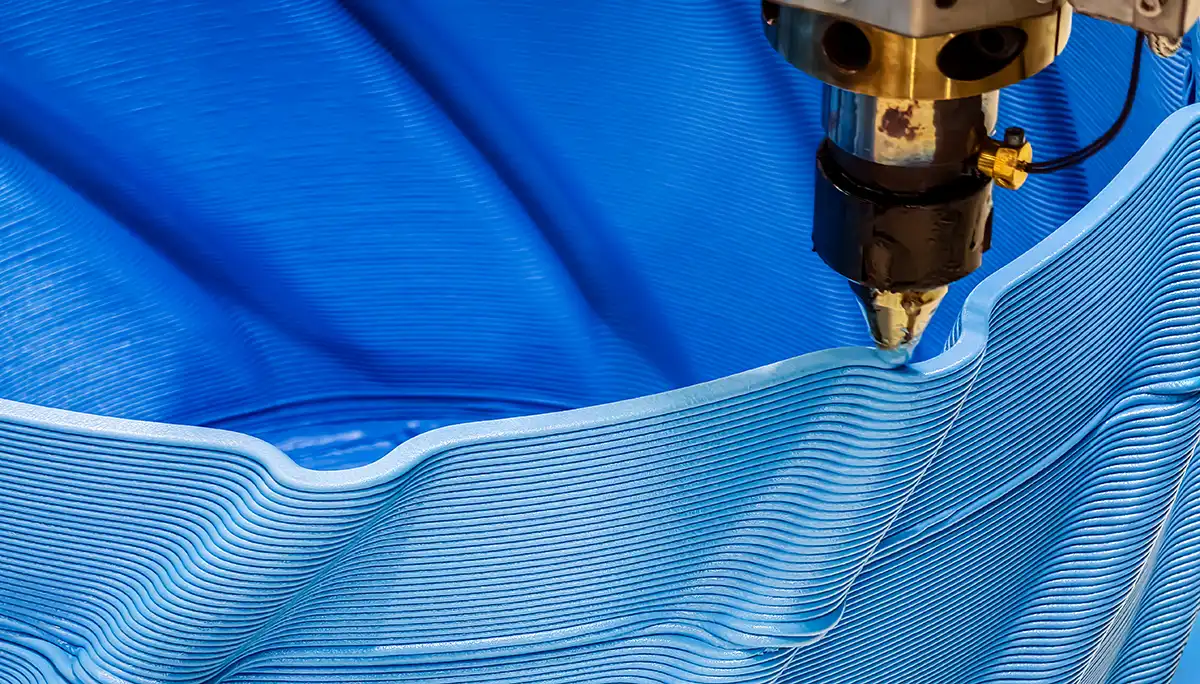
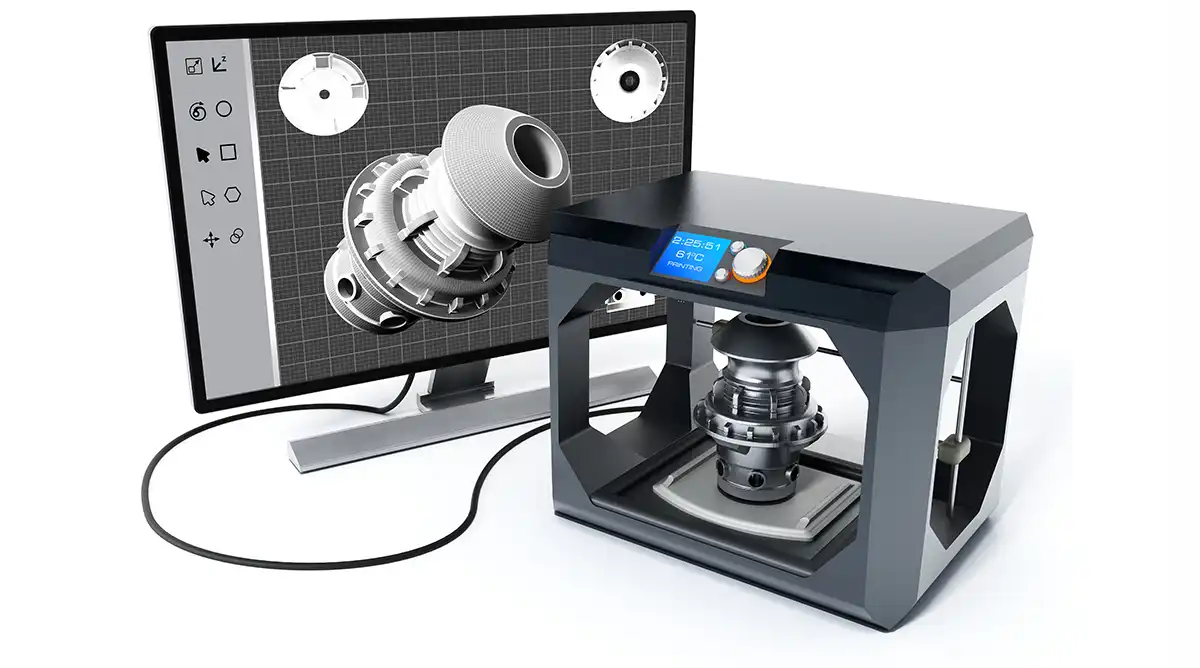
The printer builds the component layer by layer from plastic or other materials such as resin or ceramics. To guide this process, you first need to feed it the appropriate data. What used to be a complex task is now manageable even for beginners, thanks to user-friendly software and freely available CAD files online.
Depending on the software you use, adding a thread can be incredibly easy. You select the surface where you want to place the thread, then specify the desired thread type, size, and tolerance class. The thread is then inserted into the digital model and can be printed.
Threads from a 3D Printer – A Real Alternative?
If it's really that simple, why would you still consider any other method to create threads? Of course, printing threads does come with its drawbacks. And at the current state of the art, these are still significant enough that 3D printing cannot truly compete with conventional threading methods.
One weakness lies in the material. A 3D printer can only be fed with certain types of materials—usually plastics. While that might suffice for some applications, the vast majority of threads still need to be cut in metal to ensure good stability and strength.
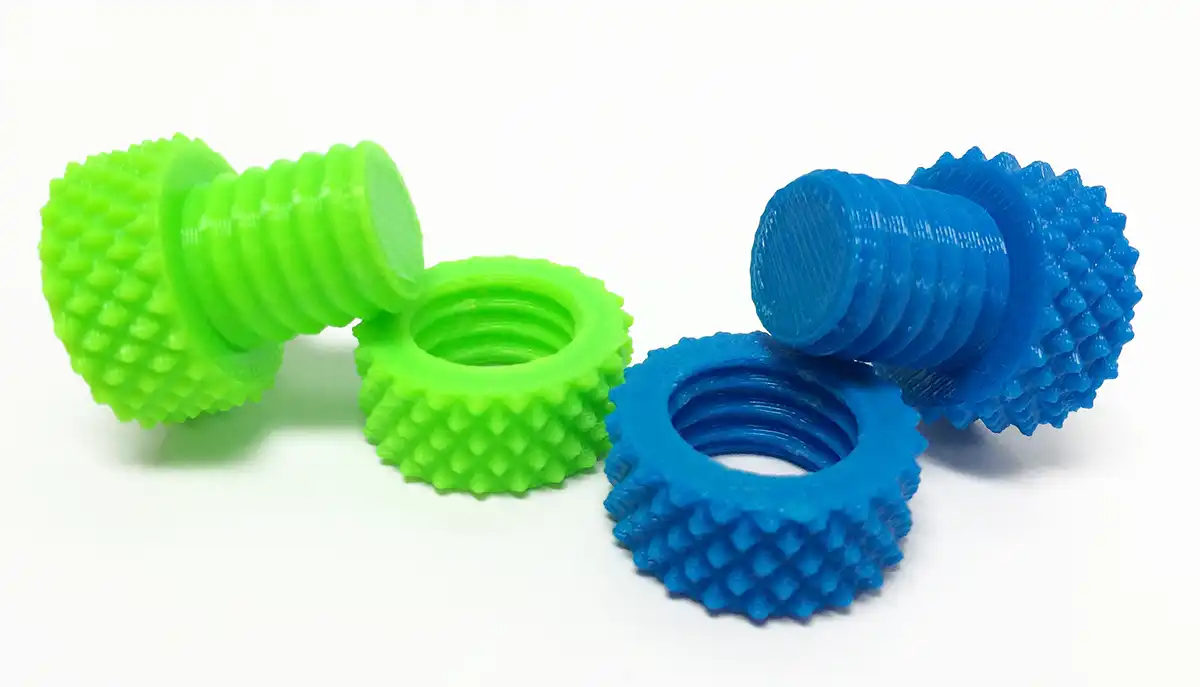
Threads from a 3D printer also can’t quite match conventionally manufactured threads in terms of quality and precision. The additive process results in a rough and sometimes irregular surface. There's also a risk of the material contracting slightly as it cools, meaning fluctuations in fit accuracy are always possible. Especially small thread sizes are hard to achieve cleanly with this method.
Applications in Prototype Development for Screws, Bolts, and Nuts
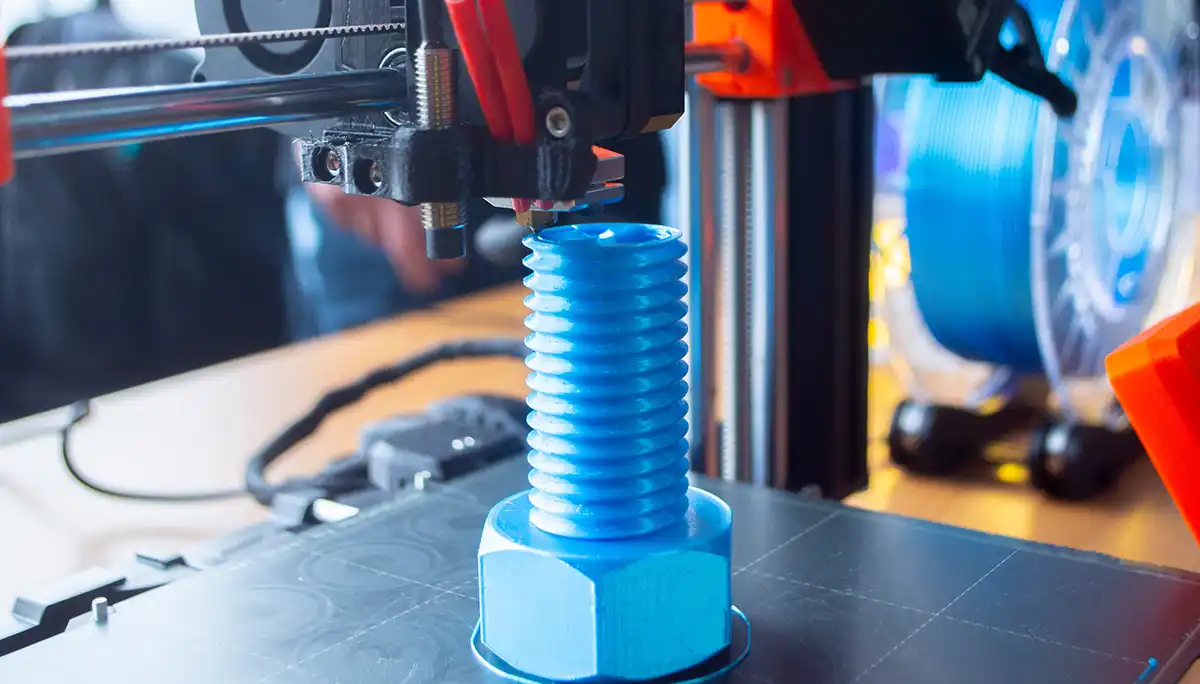
Still, the 3D printing of threads certainly has its applications. Of course, there's the hobby sector where you can experiment freely. For large threads and screw connections that don’t need to hold perfectly or turn especially smoothly, printing can be a good solution.
But the method is also used in professional contexts, especially in product development. Prototypes aren’t final products that need to function flawlessly over time—they're interim stages still being refined. To test new shapes and product variants quickly and easily, 3D printing is ideal. However, the final product is usually manufactured using traditional methods.
Combining Additive Manufacturing and Conventional Machining
Between traditional thread production and 3D printing, there are even more variations that combine the advantages of both approaches.
Post-Processing Printed Threads
To connect two 3D-printed components, it’s helpful if the thread is already included in the model. To achieve a good fit, the thread can be post-processed after the material has cooled using a tap or die. While this doesn’t eliminate the need for tools entirely, the preparation done by the printer makes your job easier.
Printing a Core Hole
Alternatively, you can just let the printer create the hole. In the CAD file, you define a core hole in the appropriate size. Note: even with this approach, the exact dimensions of the hole are crucial for the thread to be successful. After printing and cooling, you then cut the thread as usual using a tap or die.
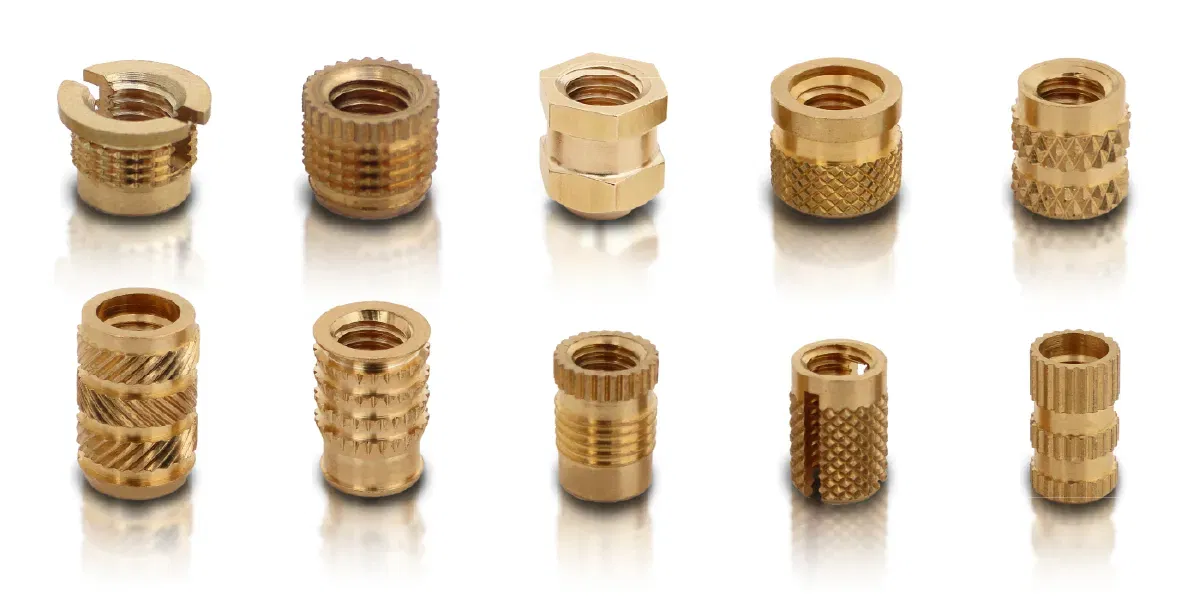
Using Inserts and Bushings
Threaded inserts and nuts made of steel or any other material can be planned directly into the model. To securely connect a sleeve or bushing with the plastic part, several options are available. They can be pressed in or melted into place. Self-tapping bushings can also be easily mounted in a pre-printed hole. No matter which method you choose, the resulting screw connection will be significantly more stable, precise, and wear-resistant than a thread printed directly into plastic.
Whether for post-processing printed threads or for conventional use—our BAER online shop offers a wide range of taps, dies, and many other products. If you have any questions or concerns, feel free to contact our support team by phone or via the contact form. We’ll be happy to help!