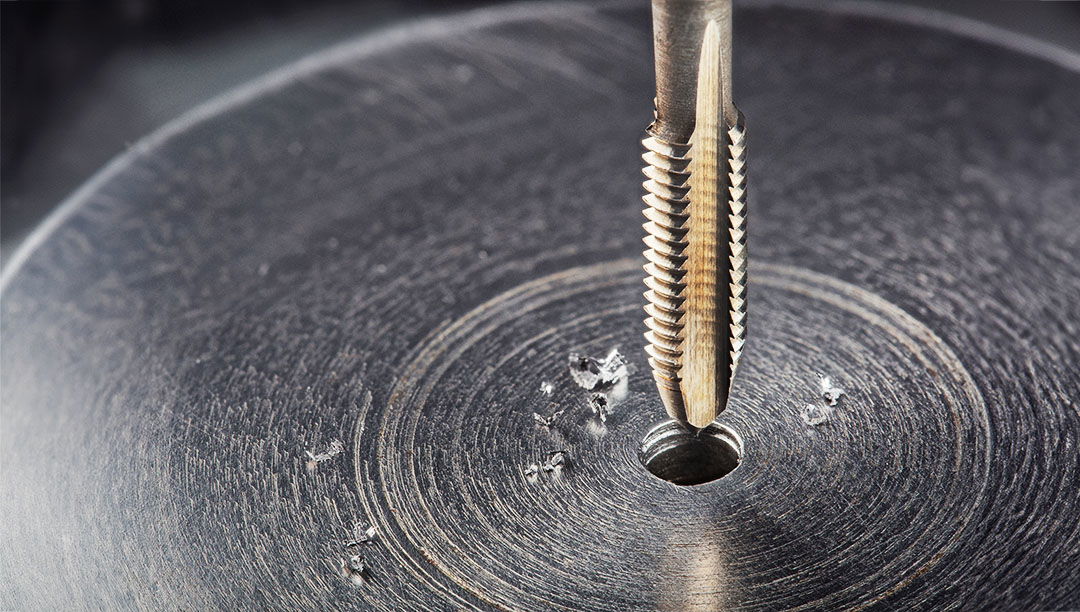
What to do if the blind hole thread becomes too large?
Mistakes or mishaps happen to everyone, and surely, you've encountered a threading issue at some point. However, when the same problem occurs repeatedly, there is usually more to it. We understand how frustrating it can be when the blind hole thread goes wrong. We're here to help you identify the cause of the problem when the blind hole thread becomes too large.
Blind hole threads are inherently prone to issues. A specific error that often occurs is thread misalignment. This is frustrating because it results in components not fitting as desired, causing wobbling or, in the worst case, preventing any connection. No matter how much effort and care you put into your blind hole thread, if it ends up with incorrect dimensions, these tips might help you address the issue.
Why Problems Often Occur with Blind Hole Threads
Unlike through holes, blind holes terminate within the workpiece. They have a bore bottom, and for this reason, blind holes are often referred to as pilot holes. Appropriately, the bottom is also the cause of potential issues with blind hole threads that you don't face with through holes. Chips can accumulate in the blind hole if not managed properly. Moreover, the screw tap can collide with the bottom of the blind hole and break, or other common issues may arise. Those who regularly use a screw taps in combination with blind holes are accustomed to these problems. One of the most common challenges is avoiding misalignment and preventing the blind hole thread from becoming larger than intended.
Common Reasons Your Blind Hole Thread Might Become Too Large
Before delving into the specific reasons your blind hole thread might become too large, let's look at some of the most common mistakes. Only after ruling out these points as causes should you consider more complex solutions. First, ensure that your screw tap matches your cutting situation in terms of material, coating, and geometry. Information on this can be found on the packaging, from the screw tap manufacturer, or your source. Additionally, your tool should always be clean and exhibit minimal wear. Also, make sure to select the correct diameter for the pilot hole.
Having considered all these aspects, and your blind hole thread is still too large, you should consider one of these reasons:
Spiral Flutes: a Cause When the Blind Hole Thread Becomes Too Large
Screw taps for blind holes often feature strongly right-twisted flutes, and they are often the reason your blind hole thread becomes too large. Now you might think: no problem, let's use a tap drill with straight flutes. Unfortunately, it's not that simple.
Why You Can't Forego Spiral Flutes Despite Problems with the Blind Hole Thread
Blind hole taps have spiral flutes for a reason. They ensure that chips are automatically transported upward out of the borehole when the tool is used, counter to the cutting direction. This prevents issues with chips, as they can quickly get jammed and clog the hole. This is particularly crucial for medium and long-chipping materials. For these materials, changing the flute shape is not a solution if the blind hole thread becomes too large. It's different for short-chipping materials, where you can use a screw tap with straight flutes and test if the blind hole thread still becomes too large.
How the Corkscrew Effect Causes Blind Hole Threads to Become Too Large and How to Address It
There is an effective solution for medium and long-chipping materials. To understand why spiral flutes can become problematic, we need to understand the cork-screw effect. Due to the helix angle, an axial force is generated in the feed direction – also known as the corkscrew effect. This effect causes the tap drill to be pulled into the borehole. If you generate too much cutting pressure, the tool moves faster than the pitch, leading to axial misalignment. This problem can be easily resolved by reducing the cutting pressure.
Properly Clamping Screw Taps for the Perfect Blind Hole Thread
Another common source of errors is found in the connection between the blind hole tap and the machine. If the screw tap has too much play, it may misalign the thread when retracting. You can counteract this problem with a good drill chuck, which ensures high concentricity. Additionally, make sure to clamp the screw tap correctly.
How to Properly Clamp the Blind Hole Tap
When clamping the screw tap, ensure it is precisely centered. Using a three-jaw chuck makes optimal centering particularly easy, as special threading chucks are excellently designed for the requirements of thread cutting. After clamping, the tap drill should sit firmly and straight in the drill chuck.
Pay Attention to Quality When Choosing a Drill Chuck
No matter how careful you are, the most critical aspect when clamping the screw tap remains a high-quality drill chuck. Besides high-quality material, clean workmanship, and above all, high clamping force and concentricity, are features you can expect from premium drill chucks. If you frequently encounter the problem of your blind hole thread becoming too large, consider changing the drill chuck.
You can find drill chucks and screw taps for blind hole threads in our BAER online shop. If you're looking for additional tips on cutting perfect threads, feel free to contact our customer service or check out more posts in our Blog.
